


Build a Bluebird House
Taking care of our Feathered Friends
Even though springtime may seem a long time away, now is a great time to consider building a birdhouse. Why? During the cold winter months, birds scatter to find any shelter they can in dead or hollow trees. Very early in the year, these birds also begin to scout for nesting sites.
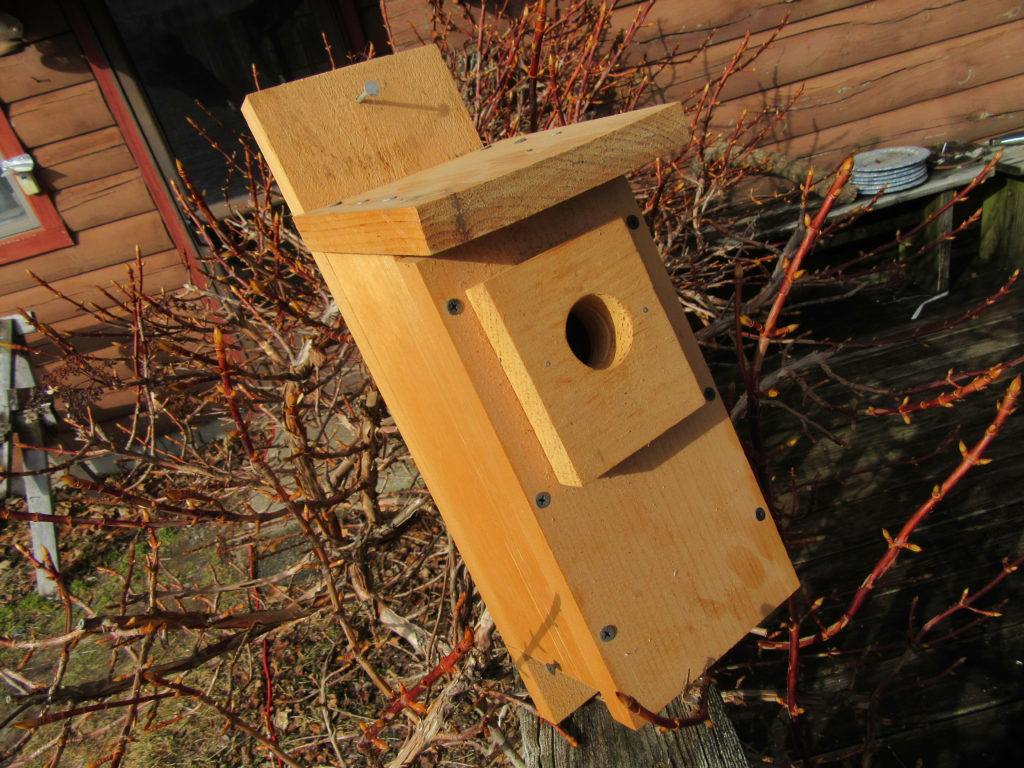
My mother-in-law built this Bluebird house. It has two solid side panels and she uses a removable floor for clean out.
Building a birdhouse and placing it out where birds can find and use it for winter shelter or nesting will not only benefit the birds but also can benefit you as well. With the addition of a birdhouse, your yard will begin to attract more attention from our feathered friends. Birdwatcher or not, you may even begin to enjoy a little bit of what birds and nature have to offer. Once you have successfully installed a birdhouse or two, it will be gratifying to watch the birds that use it. Remember to hang or otherwise attach your new birdhouse so it has solid support and provides a certain amount of cover to make the birds feel safe and well protected. Furthermore, resist the urge to get too close of a look at your new friends until they have had time to settle into their new house, as you don’t want to scare them away.
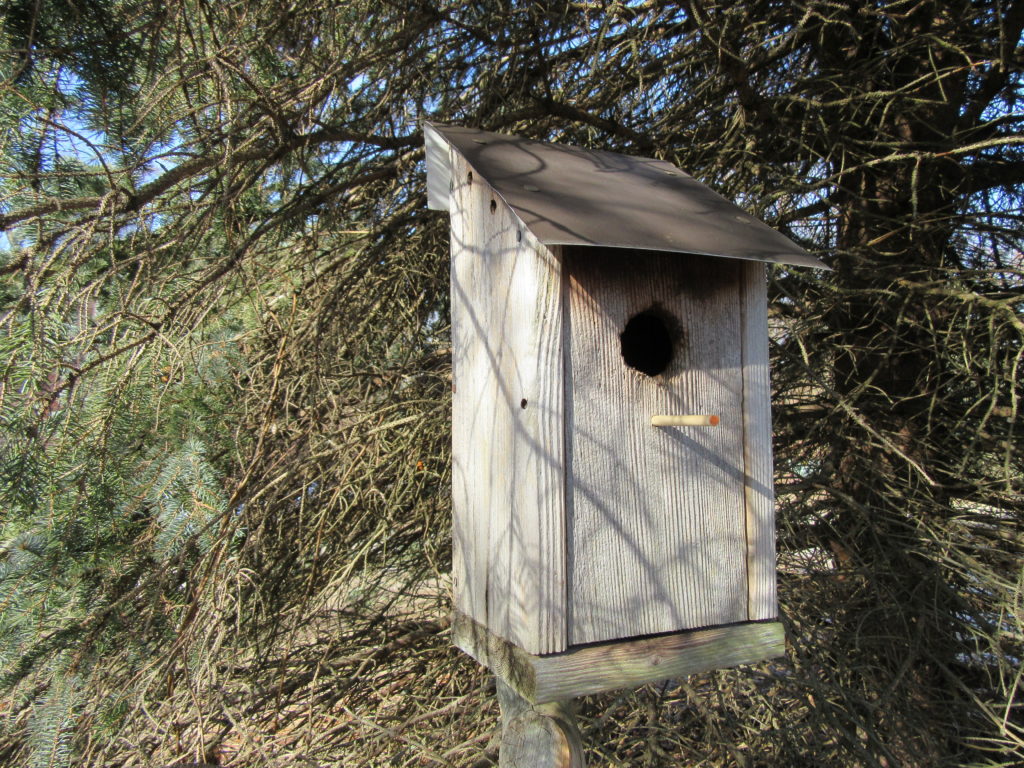
Here is one of our old birdhouses mounted on a wooden fence post located near an evergreen tree. It has seen generations of Bluebirds.
Before you can build a birdhouse, you first have to decide what kind of bird you want to attract with your project. Different kinds of birds require different sized houses. Take some time to research birds common to your area and what type of structures they like to nest in. Other important details to consider are the size you make the entrance hole and where you should create it on the front side of the house.
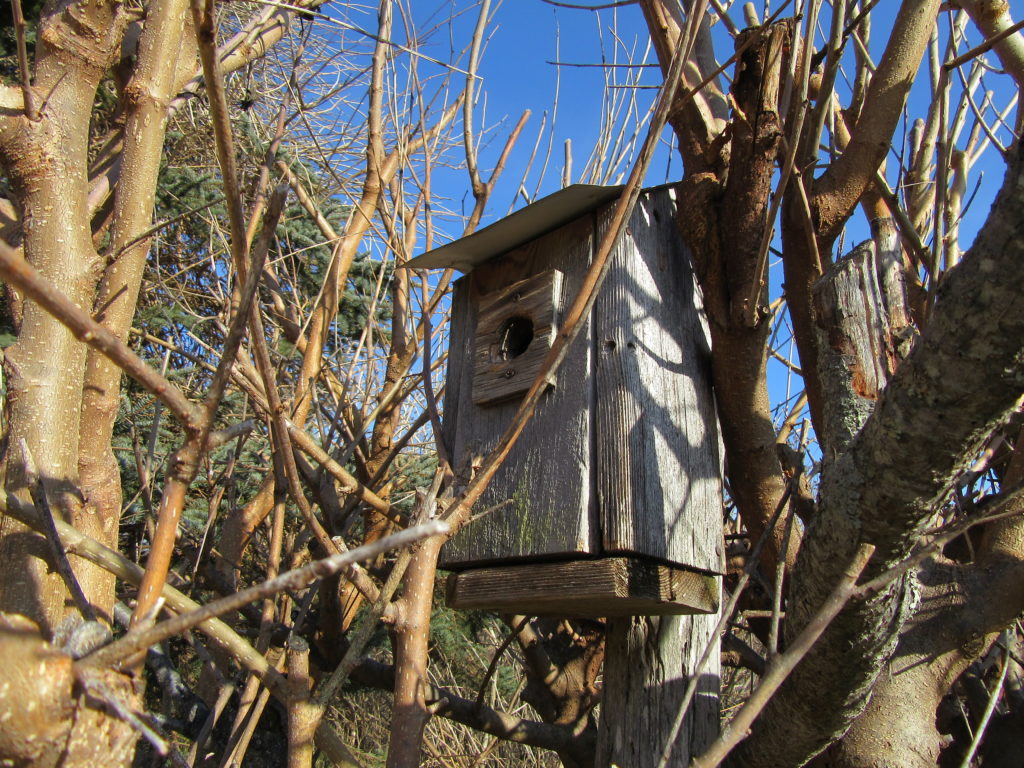
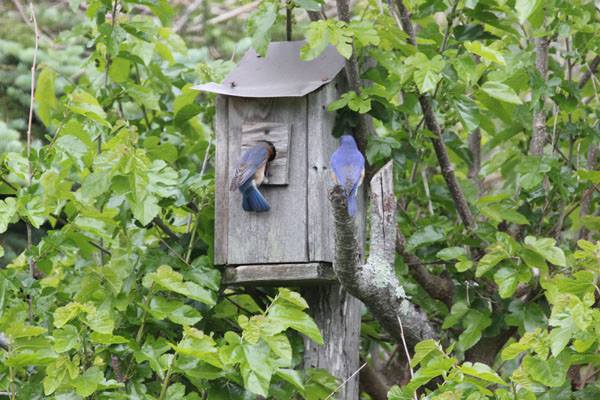
Here is another old Bluebird house in place in a cutback Mulberry tree. It’s made from scrap cedar boards. The front pivots for clean out.
Wood is the most common material used to make birdhouses. Pine is easy to work with, cheap and readily available at home improvement stores. Wood is also a great insulator and protects the birds from the heat of summer and the cold of winter. There are a number of websites online that have information on building birdhouses for a variety of birds, so feel free to check out a few before deciding on your project.
DIY Bluebird house
Everyone loves watching these active backyard residents, so let’s enhance your backyard neighborhood aviary. Here are some drawings for a basic Eastern Bluebird house. Besides the obvious benefit of attracting birds to your yard, building a birdhouse is also a great way to spend time with your family or friends. This simple birdhouse is essentially a square box. Cut the pieces from a single 5ft length of 1×6 inch pine board – you can use a power saw or a handsaw. There is only one angle cut required so reference the drawing and use a pencil, ruler and a square to layout the cut lines. This does not have to be a very precise project; the birdhouse will spend all its time outside and will weather with the elements regardless. The joints need to be strong but some gaps here and there are fine, as they will allow venting for airflow. To add some drainage, the four corners of the floor should be beveled to produce small triangular openings. All you need is a handful of 1.25-inch screws (sheetrock screws work great), and a couple of small nails to act as top pivots for the hinged cleanout side panel.
Start by laying the two sidewalls of the house on edge on your workbench (long sides up), and place the back panel on top. Use the drawing as a guide and screw just the right side (for now) to the back panel with three screws. Be sure to center the screws so they thread into the middle of the side’s edge. Flip the assembly over so the back panel is on the workbench and while keeping the side square to the back, set the floor panel into place and screw it to the back and side. Take the front panel and using a 1.5-inch-diameter spade drill, drill a hole on the front panel’s centerline with the center point of the hole placed 2.5 inches from the top edge. Now screw the front panel to the right panel and the floor. Turn the house on its side so the open left side is facing up. Slip the left side in position between the front and back panels and hammer the two small nails (one each through the front and back panels), to form the pivot point. Now set the roof in place and screw it to the front, back and right side panels.
Building Tips
• When you screw the front panel into place, position it about 0.25 inch below the front corners of the side panels. This will form a narrow vent opening when you install the roof.
• You can cut the back edge of the roof at a slight angle so it fits more tightly against the back panel. On the other hand, you can leave the edge square and use a bead of silicone sealant to make the seam watertight.
• It is easier to hammer the pivot nails into place if you first drill small pilot holes through the front and back panels.
• Use a square to mark the positions of the pilot nails. Keeping them in line with each other will allow them to work without binding.
• If you want to, you can also use a piece of aluminum flashing in place of the wood roof. Bend the back edge to align with the back panel and use two roofing nails to nail the flashing to the back and side panels.
• When you drill the hole in the front panel, place a piece of scrap wood under it. This will greatly minimize splintering when the spade exits the backside.
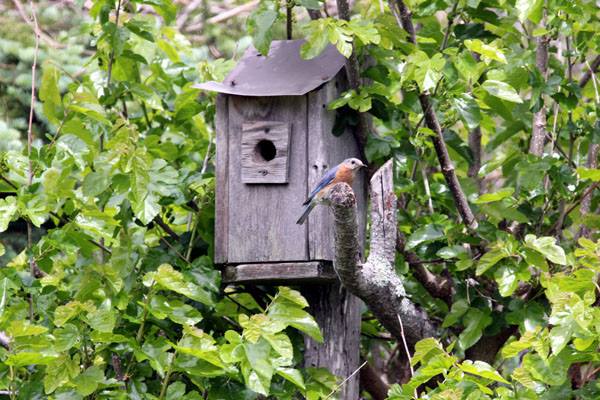
Momma approves!
That’s it! You can use it as is, or you can apply a coat or two of exterior latex paint to seal the wood and make it waterproof. I would advise against painting the inside surfaces of the sides or the entrance hole. In addition, this project does not necessarily call for new store bought wood. You can use old scrap wood and adjust some of the house dimensions to make due. Old barn-siding and even plywood would work great. Just remember, it is crucial that the entry hole is the correct size.
To install the house, you can use long nails or screws to attach it to a tree or wood pole. Your Bluebird house should be between 5ft and 10ft above the ground and if you make more than one birdhouse, you should place them from 50ft to 75ft apart. You will be surprised how quickly birds will show up to check out your work. Before you know it, a new family will be taking up residence in your yard!