


Winter Photography – Tips for better Digital Images
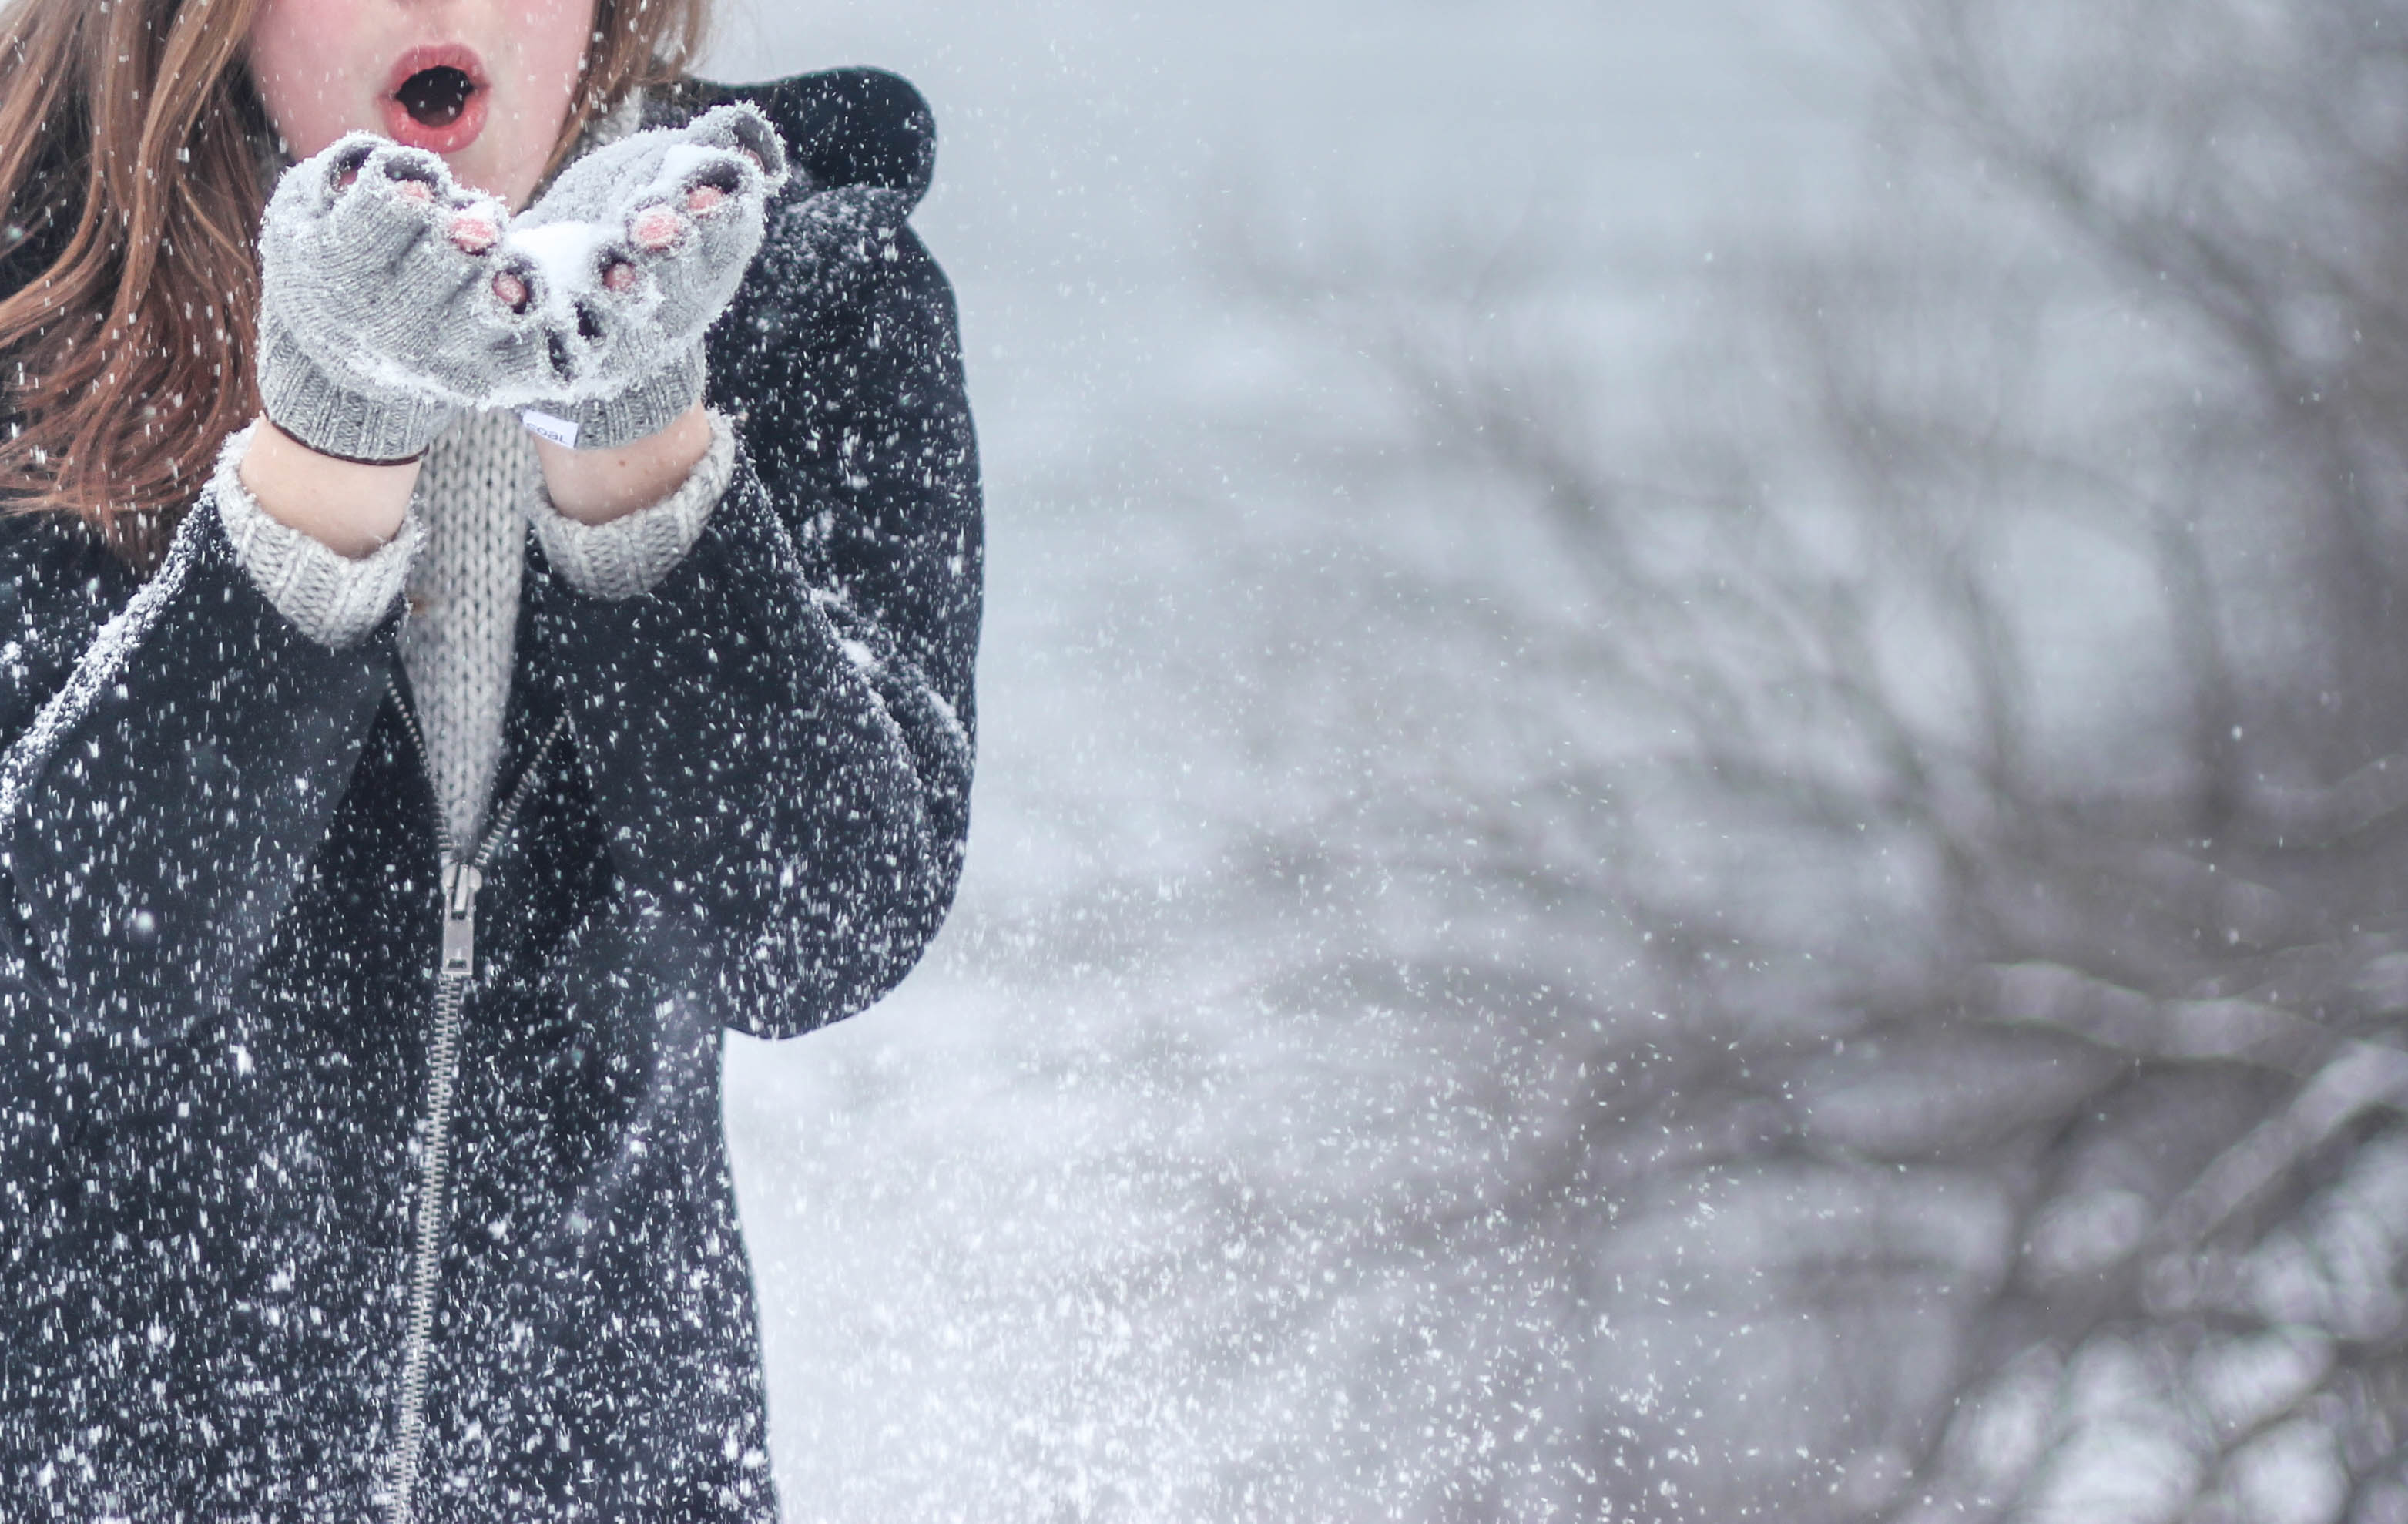
One of the most popular holiday gifts purchased at big box retailers, as well as online, is the digital point-n-shoot camera. What better way to capture the excitement of the season than with your new camera? Winter can be a great time for the shutterbug. Here in the Northeast, fresh snowfall can create beautiful landscapes, priceless wildlife moments, or even the perfect background for a family-fun photoshoot. By following a few basic tips, you can capture all the fun to share with friends and family. The possibilities are endless.
Today’s point-n-shoot cameras take a lot of the guesswork out of obtaining excellent digital photos. If you are a novice photographer, or simply someone who is not very familiar with a camera, you may face some difficulties in capturing that perfect outdoor shot. With just a few easy tips, and some factors to consider, you will be able to create those great wintertime shots every time.
The Basics
Before you head out that door on your photography adventure, remember that the perfect shot may not be captured in simply a minute. It is crucial to prepare yourself with a proper attire, backup equipment, and even some snacks if you plan to be outdoors in the snow for quite a while. Be sure to layer up clothing in order to trap in body heat and wear insulated boots. It is always better to be too warm than too cold. Another thing to consider is the time of day you plan to shoot. This time of year, the days are shorter and the sun remains lower on the horizon. Landscape shots can come out amazing but you will need to scout out the area first to see when and how the shadows fall. Plan your shoot and get there before the optimal shooting time so you are already setup for that perfect shot.
Great photos can require a lot of standing and waiting. Be sure to remind your subjects to dress warmly, as they will probably be less active while holding still for photos and it is very easy to become chilled. Bring along a nice thermos of hot chocolate or even some soup. Coffee or tea are great options when your core temperature starts to lower. Packing food too is always a great idea. Recommend your subjects do the same!
For safety reasons, make sure your cellphone is fully charged if you plan to explore the wilderness alone. It is also a good idea to tell someone where you plan to go take photos and when you plan to come back.
Know your Equipment
It is understood that you cannot fully exploit your camera’s features if you are unaware of how it works. Make sure to read the instructions! You would be surprised how much better your images can be if you simply use the proper settings. Taking photos indoors can usually be done with everything set at full-Auto. But when it comes to shooting outside and during the winter, a couple of setting tweaks are needed.
First, determine what you are going to shoot. If you are shooting landscapes, then you want to set the scene for long distance exposures, while taking photos of friends and family require you to set the camera for close up portraits. Also, cameras will usually underexpose white and overexpose black as their electronics tend to gravitate toward neutral grey tones. Using a manual camera, most pros will overexpose snow scenes by up to two F stops. This can be done automatically for you by using your camera’s “Snow” settings, (typically a small snowman icon). With this setting, the camera is less overwhelmed by the brightly lit conditions and can produce bright, natural colored shots of people against the snowy background. Additionally, many cameras have settings for High-Speed Continuous shooting (High-Speed Burst), where you can hold the shutter button to shoot a series of action shots. This is excellent for images shot on the ski slopes or sledding hill. Experiment with your built-in features to maximize your shooting quality.
Wait for the Sun
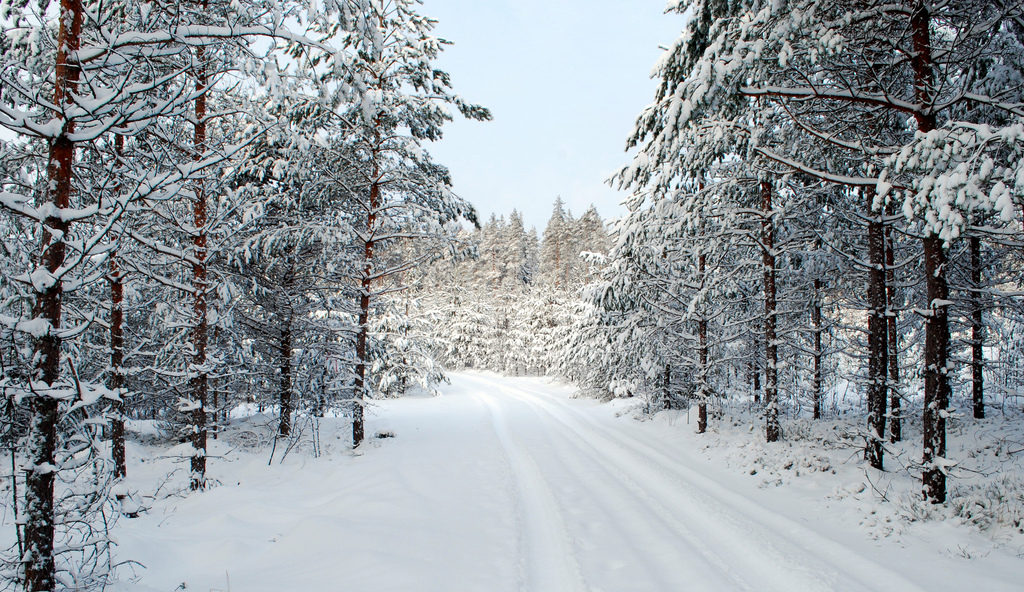
Often winter days can be overcast and dull. You may not be able to get good photos on these days of defused light. Wait for conditions composed of plenty of sunlight and bright blue skies. Keep an eye on the local weather and be ready for when the conditions are optimal. The degree of sunlight makes all the difference. Buildings, trees with sunbeams showing through, bridges and other interesting settings look great when properly lit by the sun.
Another very important thing to do is to keep the sun to your back. You want to shoot the sun side of subjects, not the shadow side. When you want to snap a shot of someone, look at the ground and see where your shadow is pointing. That’s the direction you want you subject to be. For a portrait, it is easy to have the person move, but when it comes to fixed objects, you will have to plan your shots for the best time of day with the best sun position.
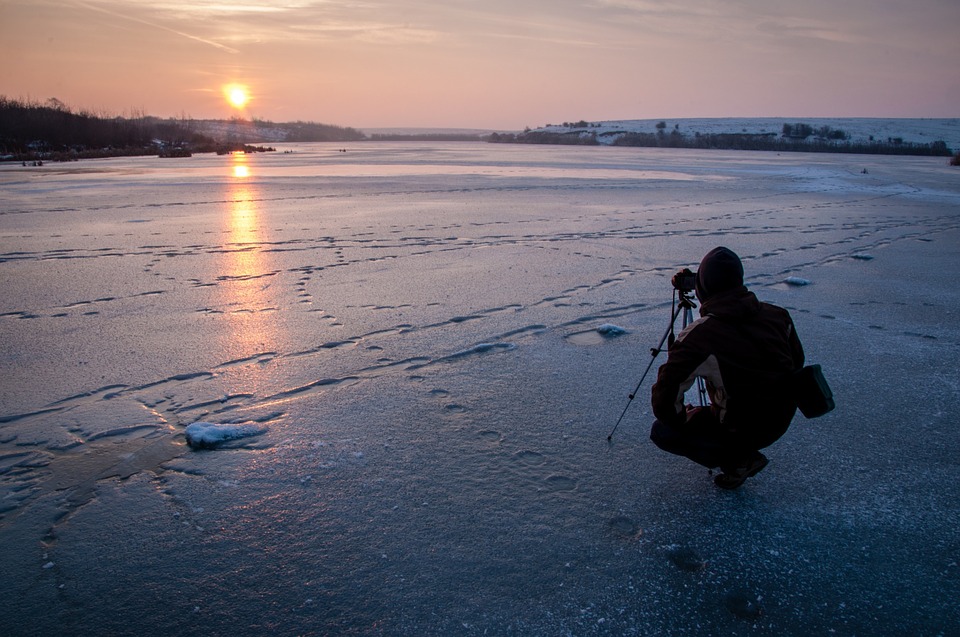
Pro photographers often take advantage of the magic hour. This is the time around sunrise or sunset, when most of the light is reflected and the direct sunlight passes through more atmosphere. This naturally filters out the harsh neutral or blue light waves. During winter days, the sun never reaches a very high position, which in turn lights subjects at a more pleasing angle. Due to the low angle of the sun, textures look more detailed and alive while shadows are more dramatic and long.
Tech Tips
As mentioned, cold weather can be harsh on photo equipment, so you will need to take care of your camera. Here are a few tips to keep your Point-n-Shoot happy.
• Keep your camera warm and dry. Try using a water-resistant carry case.
• Pick up a larger memory card to avoid having to swap out a smaller one with your cold, bare hands. Opening the card/battery compartment increases the chances of getting the inside of your camera wet.
• When you return from a photoshoot in the cold, let your equipment warm up slowly to avoid condensation inside your lens. I leave mine in the carry bag for a couple of hours before taking them out when I am back inside. Resist the urge to review your photos right away.
• Invest in a compact, collapsible tripod. Keeping your camera movement to a minimum will greatly improve your shots.
• Don’t overly use your digital zoom. If you want to fill the frame with your subject, zoom in by using your feet to move closer to it. Digital zooms add considerable “noise” to your digital images.
• Cold temperature eat up battery charges quickly. I find it good to bring at least one spare battery and keep it warm and close to your body.
In a Flash
The on-camera flash on a compact digital camera is useful. While you cannot light up an entire room with the built-in flash, it is very useful outdoors when you have both shaded and sunlit objects in the same scene. A jpg photo cannot handle the same range of contrast as your eyes can. Taking an outdoor photo of your subject who’s wearing a hat that casts a shadow on his or her face can easily ruin the shot, especially in bright sunlight. You can greatly minimize this dark area by using the flash. Technically speaking this is called “fill-flash” and it greatly improves your portrait by allowing the hidden facial details to show.
Composition and Contrast
The most important aspect of good portrait photography, composition or “framing”, is what separates the professionals from the amateurs. Framing refers to where you put your subject in your photo. A good basic rule when shooting portraits is to fill the frame with your subject, leaving just enough extra space to include a bit of the environment around the subject. The closer and tighter you get on the subject, the better the portrait will look. Single subjects generally look good in vertical format, while horizontal formats work best for group portraits and for wintery landscapes.
Using contrast in your photos undoubtedly can produce stunning results. It can be used as an attention-grabber to turn an okay photo into something special. As simple as shooting a dark subject on a light background, contrast can also be subtle with colorful subjects shot with plain backgrounds. Shadows add contrast while shooting light subjects on light backgrounds diminishes contrast.
While it might be nice to capture the feel of an entire area, isolating bits and pieces of what you have can bring out the beauty and subtle details of your shot. To accentuate the contrast that snow provides, coming in tight on a section of a subject covered with snow can bring out both contrast and interesting patterns. If you have to opportunity to work with combinations of snow, water and ice, you can create a compelling, attention-grabbing image. Coming in tight on a small area that shows these details can be very appealing, however, it can be challenging to capture properly due to a possible limited availability of contrasts.
Background Check
When choosing a setting for your subject, you generally want a simple background. Don’t use something too busy or distracting, which can take away from your subject. Photographs with blurry backgrounds can look pleasing to the eye, but are often hard to achieve due to the extremely short focal lengths of modern point-n-shoot cameras. Since we all like sharing our photos, checking that background carefully before you press the shutter button will greatly reduce those unwanted photo-bombs, which are humorous to most who see them but will ruin your once in a lifetime shot.
Bottom Line
Another great thing about digital photography is that it cost nothing to experiment. Since you’re not using film, don’t be afraid to try new and different angles, lighting conditions and camera settings. If your photos do not come out well, simply hit the delete button. Like everything else, practice makes perfect and building your experiences behind the viewfinder will improve your results. Don’t miss out on all the photographic opportunities that winter has to offer. Take full advantage of the warmer light, the deeper shadows and the favorable weather patterns, and your images will look better than ever.